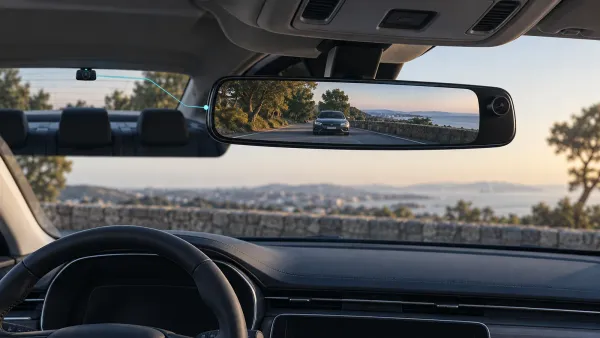
Where to Put a Dash Cam: Front, Rear, and Cabin Placement
Choose a dash cam position using the camera and vehicle manuals, then check visibility, every lens, cable clearance, and saved recordings before calling the job finished.
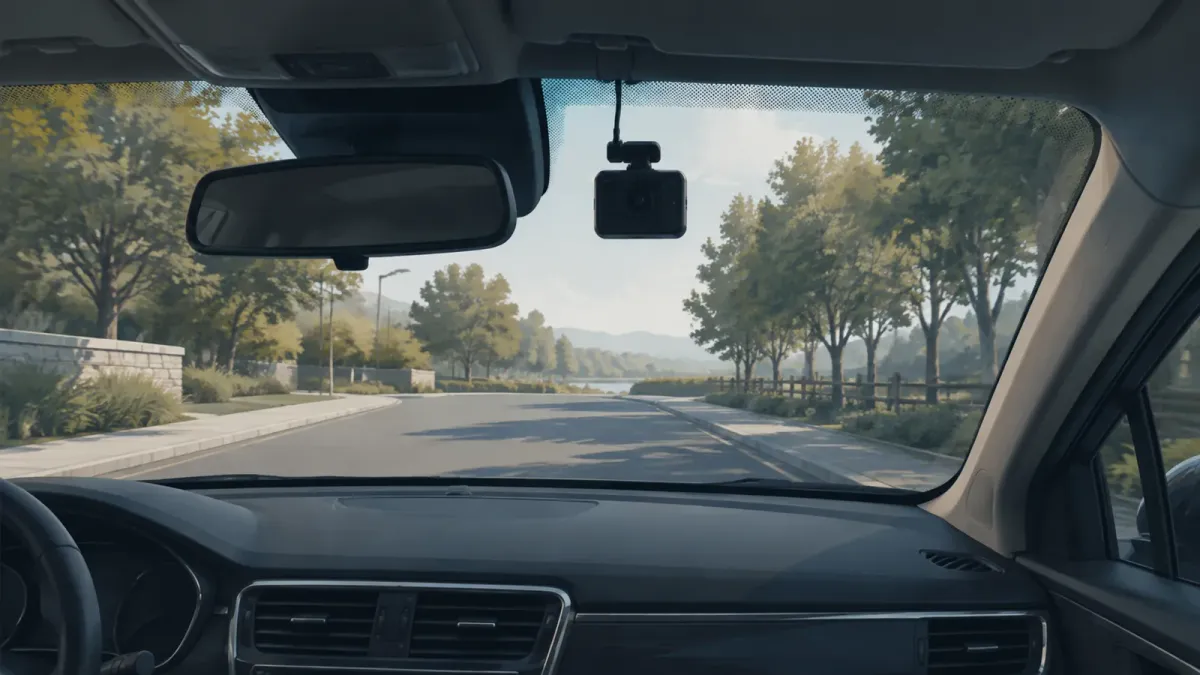
Start by checking a position high on the windshield, near the rearview mirror, where local rules allow it. Keep the driver's view clear and aim the lens through clean, wiper-cleared glass. Before attaching the mount, check vehicle sensors, every camera lens, cable clearance, and the actual recorded view.
I would choose the position using the vehicle manual, camera instructions, and a parked-car trial. A neat-looking installation alone does not prove that the camera can see properly.
Where should a front dash cam go on the windshield?
For many road-facing cameras, the passenger side of the rearview mirror is a useful starting point. Nextbase suggests this position for its suction-mounted setup in most vehicles, while keeping the camera outside the driver's sightline.
Treat that as a candidate location, not a fixed point for every car. A large sensor housing, different windshield shape, or mounting restriction can change the answer.
The lens needs to look through glass that the windshield wipers actually clear. Garmin's X210 instructions also require an unobstructed road view and advise against placing the camera behind tinted windshield glass.
Assess the complete assembly, including the bracket and connected cable. A small camera can still become an obstruction when its mount hangs lower than expected.
| Placement check | What to look for | Reason to move it |
|---|---|---|
| Driver's view | Clear visibility from the normal seat position | Camera, bracket, or cable blocks the road |
| Camera's view | Road visible through clean glass | Mirror housing or windshield border enters the frame |
| Wiper coverage | Glass directly ahead of the lens gets cleared | Lens looks through an unwiped corner |
| Everyday access | Mirror adjustment and camera removal remain practical | Mount traps the camera or cable |
Sit where you normally drive when evaluating visibility. Looking from the passenger seat can hide an obstruction that matters from behind the wheel.
Should it go behind the mirror or on the dashboard?
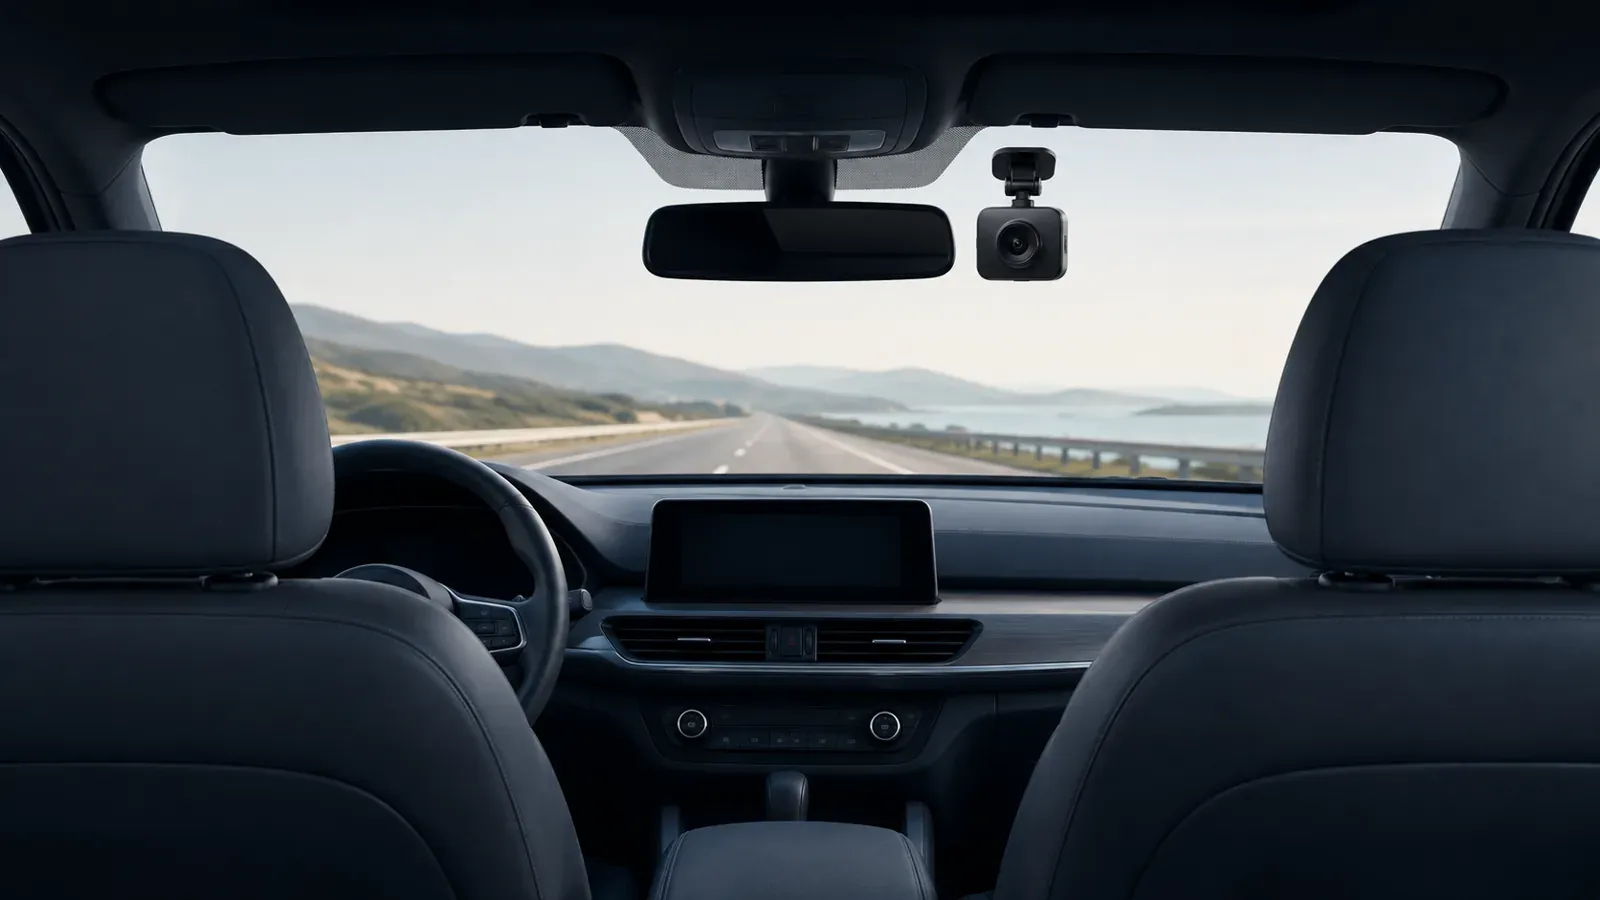
Conceptual illustration: the cabin lens needs a clear view beside the mirror.
A road-facing camera can often sit beside or partly behind the mirror. A camera that records the cabin needs an unobstructed interior view. Hiding the entire unit may defeat its purpose.
Garmin's Tandem instructions warn against placing its interior lens behind or too close to the mirror or other obstructions. Check both views when the camera contains front and cabin lenses.
Likewise, a side-mounted Nextbase rear-view or cabin-view module can be blocked by the mirror. Assemble the accessories before judging the position, rather than adding them after fixing the mount.
When is dashboard mounting an option?
Consider dashboard mounting only when the camera manufacturer supports that arrangement and the vehicle permits it. The name "dash cam" does not mean every windshield mount works on a dashboard.
Use mounting equipment designed for the camera. Do not improvise an attachment simply because the camera appears to balance on the dashboard.
Check the resulting image while parked. Reject a position where the dashboard dominates the frame or the lens cannot see the road properly.
Also check the vehicle's airbag instructions before considering any dashboard attachment. Moving a device off the windshield does not eliminate vehicle safety constraints.
How do you avoid sensors, airbags, and cable conflicts?
Identify the vehicle's sensors and airbag areas before choosing the mount and cable route. A camera position is unsuitable if the device or wiring interferes with vehicle equipment.
IROAD explicitly advises checking the vehicle manual and keeping dash cameras clear of sensors and airbags. Do not assume the space around the mirror is available simply because another driver's installation fits there.
For example, Ford warns against equipment near the roof side rail that could contact a deploying curtain airbag. It also prohibits objects in the airbag deployment path.
That makes cable routing part of the placement decision. A convenient camera location is not useful if its cable cannot follow an appropriate route.
Check these practical clearances while parked:
- Adjust the mirror through its normal range.
- Lower and move the sun visors.
- Confirm access to the camera's card slot and removal mechanism.
- Check that connectors fit without tight bends or pressure against the mirror housing.
- Identify the complete cable route before hiding any wiring.
Use vehicle-specific instructions for trim and airbag areas. If the route is unclear, have a qualified installer assess it before committing the mount.
Is windshield mounting legal in the United States?
Do not assume that a windshield position is lawful everywhere in the United States. Check the current official mounting and visibility rules for the places where you drive.
California illustrates why a simple placement diagram can be misleading. Its vehicle code prohibits certain window obstructions, then provides exceptions with specific conditions.
The video-event-recorder exception includes placement requirements and a particular device definition. It also addresses passenger notice and stored recording duration.
A product sold as a dash cam does not automatically establish that it meets that exception. Read the applicable rule in full and seek qualified clarification if its application to your setup is uncertain.
For a practical check:
- Find the current vehicle code or official transport guidance for the jurisdiction.
- Read the obstruction rule and any relevant device exception together.
- Check whether the rule applies to your vehicle and recorder type.
- Resolve unclear requirements before attaching the camera.
Do not reuse dimensions from an overseas installation diagram as US guidance. Manufacturer placement advice helps with fit, but it does not decide legal compliance.
Can the mount sit on windshield dots or a tinted strip?
Separate the mounting surface from the glass the lens sees through. A bracket may fit physically while the camera's view remains blocked or darkened.
Nextbase's suction-cup instructions specifically say the mount should not touch the windshield's black spotted area. Follow the instructions for your particular mount instead of assuming suction cups and adhesive pads behave identically.
Keep opaque dots, stickers, and borders outside the lens view. For the X210, Garmin also advises avoiding tinted windshield areas in front of the camera.
Before using an adhesive pad, follow the product's cleaning and installation instructions. Garmin's Tandem guidance requires clean glass without dust, wax, oils, or coatings.
Use the prescribed preparation method for your glass and mount. Do not invent a universal cleaning chemical or adhesive waiting time for every vehicle and camera.
If the only available position puts the lens behind tint, test actual footage before committing. Check a darker scene as well as daylight, and ask the manufacturer about suitability if the result is unclear.
Where should a rear dash cam go?
Start by checking a position near the upper center of the rear window, then adjust for the vehicle and camera. Center the lens rather than judging only the camera body's position.
Thinkware instructs users to choose a location clear of defrost grid wires and rear sunshade interference. It also emphasizes checking the installation location before securing its strong adhesive mount.
Check the rear view for obstructions such as a spoiler, headrest, sticker, or window border. If the vehicle has a rear wiper, inspect which area it clears relative to the lens.
Follow your model's orientation instructions. Even within Thinkware's range, the X1000 rear camera uses a different logo orientation from the other setup described.
For a hatchback, include the moving hatch in your front and rear installation plan. Cobra advises leaving enough cable slack for the hatch to open without straining the wiring.
Open and close the hatch fully while checking the route. Stop if the cable pulls on the camera, catches, or becomes pinched.
A cabin-facing lens at the front serves a different purpose from a rear-window camera. Check each intended view separately instead of assuming one placement covers both.
How do you test placement before sticking the mount?
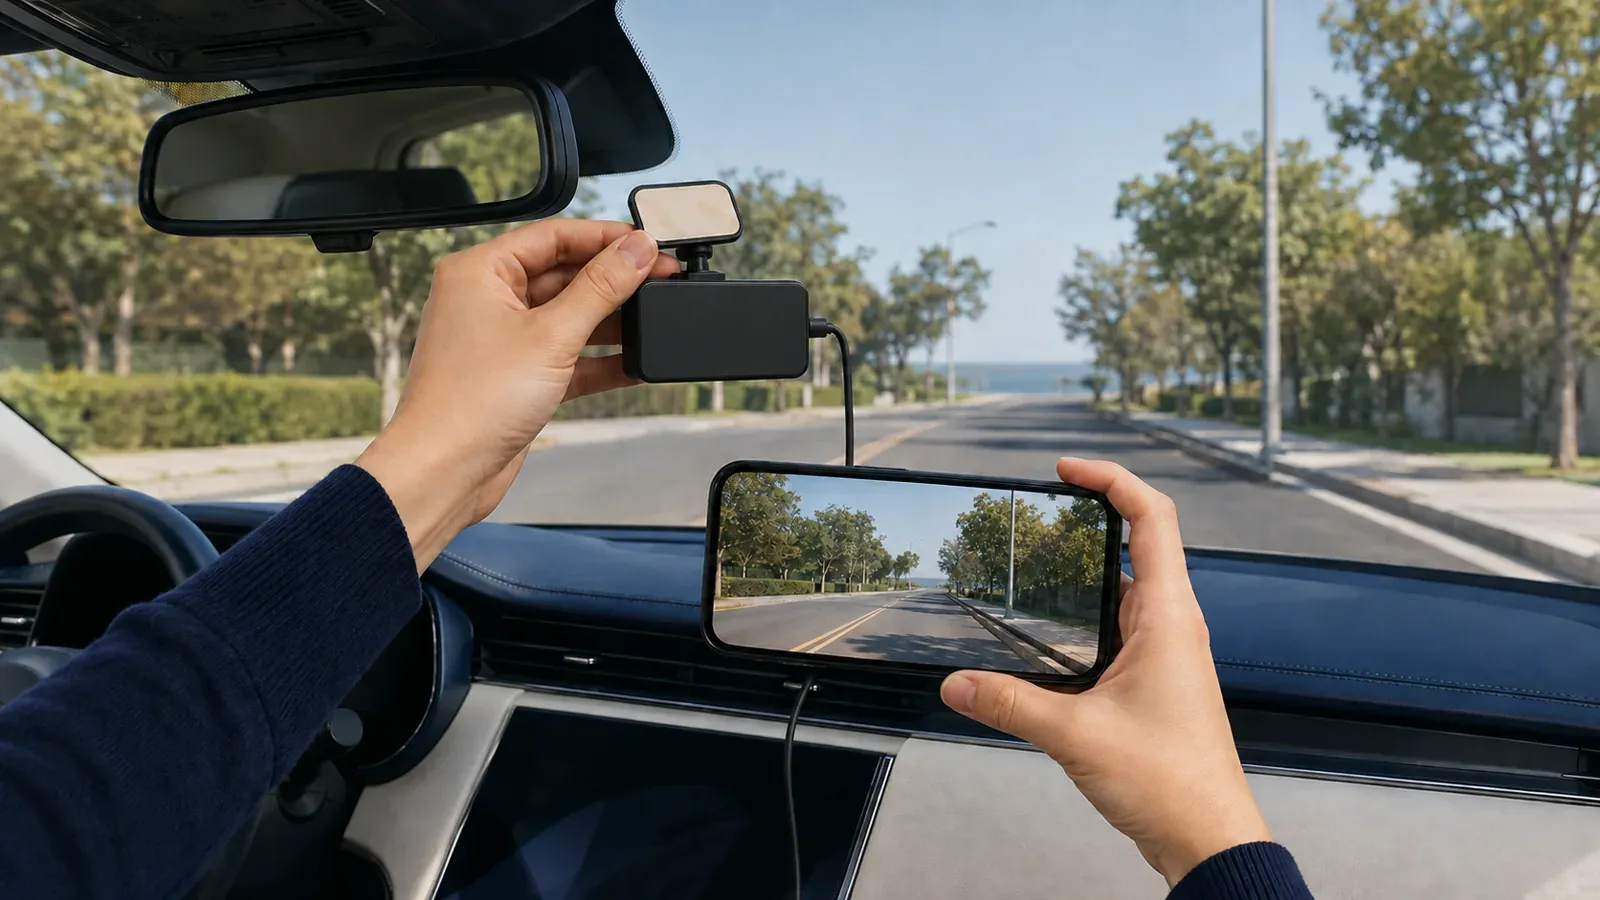
Check the live view while parked before exposing the adhesive. This illustration is not a vehicle-specific mounting template.
Hold the assembled camera at the candidate location while safely parked, and inspect its live view before exposing the adhesive. Then confirm a saved recording after secure installation, because a preview alone does not verify the finished result.
Garmin's Tandem installation sequence checks the views before removing the adhesive's protective film. This is especially useful when a mount will be difficult to reposition.
I would work through this sequence:
- Set the driver's seat and mirror to their normal positions.
- Connect the camera using its approved power arrangement while parked.
- Hold the camera and mount together at the proposed location.
- Inspect every lens view on the camera screen or app.
- Adjust the angle using the manufacturer's framing guidance.
- Recheck visibility, sensor clearance, connector access, and moving parts.
- Prepare the glass and attach the mount following its instructions.
- Make and replay a short recording from every installed camera.
Look for a level scene, useful road coverage, and unwanted objects at the frame edges. Do not impose one sky-to-road ratio on cameras with different lenses and manufacturer guidance.
Once the mount is secure, a short drive can reveal movement or framing problems missed while parked. Review the footage after stopping, and adjust the camera only when safely parked.
VIOFO warns against removing the memory card during recording or shutdown. Use the camera's supported file-access method when checking the saved clip.
Recheck the view after mirror changes, windshield work, or mount movement. The right placement is one that remains usable in your actual vehicle, rather than merely matching an installation photograph.