How to Install a Dash Cam Safely: Step-by-Step Guide
A practical, research-backed dash cam installation guide covering safe placement, cable routing, power choices, rear cameras, and testing.
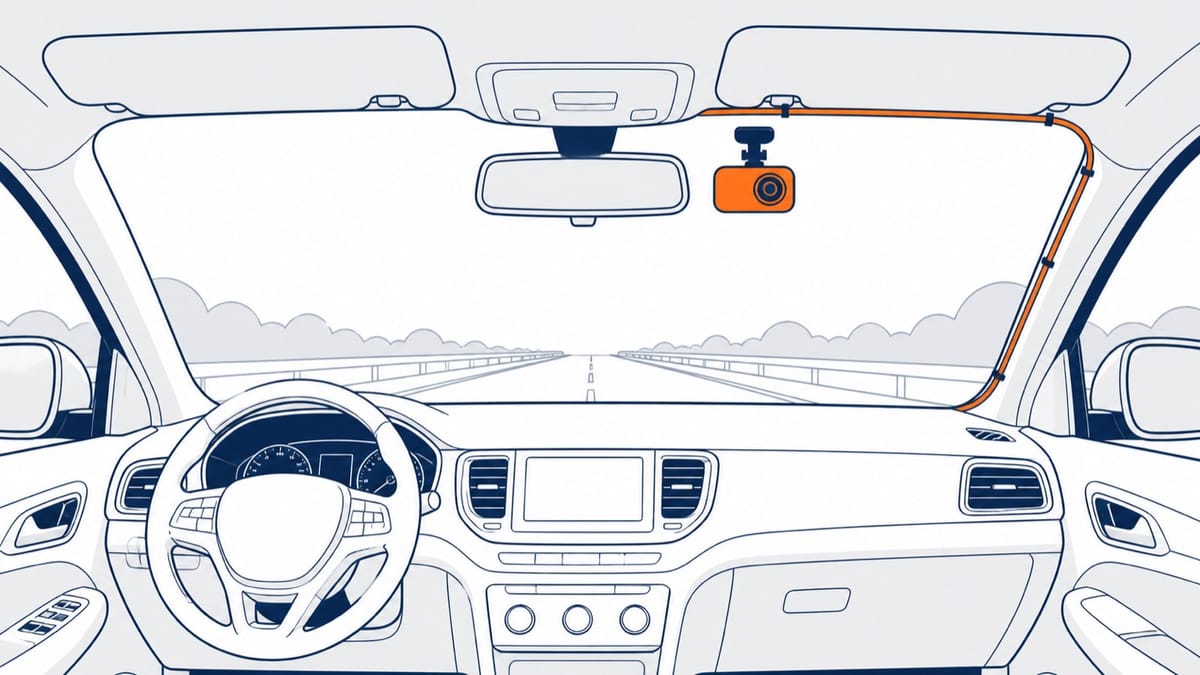
Install a dash cam by testing it first, choosing a lawful position, securing the mount, and routing its cable safely. Then connect the approved power supply and verify an actual recording. Use a qualified installer for uncertain airbag routing or vehicle electrical work.
Scope: This guide covers a general front-camera installation and planning for rear cameras. Your camera and vehicle instructions take priority.
What should you check before installing a dash cam?
Confirm every required part before attaching anything. A missing cable or unsuitable card can turn a simple installation into repeated rework.
Gather these items:
- The dash cam and its current manual
- The supplied or manufacturer-approved mount
- The supported power cable and adapter
- A compatible memory card, when required
- A clean microfiber cloth and the specified glass cleaner
- Plastic trim tools and cable clips, if the route requires them
- Your vehicle manual and relevant service information
Do not substitute a cable because its connector happens to fit. Its electrical or data requirements may differ.
Check the compatible memory card requirements for your exact model. Garmin states that its X310 needs one to record.
Test the camera before mounting it
Insert the supported memory card and connect the approved temporary power supply. Turn the camera on while the vehicle is safely parked.
Confirm that the correct channel appears and that recording starts. Connect any rear or cabin camera now, before hiding its cable.
Make a short recording and play it back. This check can expose a faulty card, cable, or camera before trim work begins.
Plan the complete route before removing trim
Trace the cable from camera to power source. Include the connector size, cable length, moving panels, and any rear-camera path.
Find the vehicle's airbags and factory sensors. Also identify sharp edges, pedals, seat tracks, door jambs, and moving hatch parts.
Stop early when the safe route is unclear. Concealed wiring is useful only when it remains clear of safety equipment.
Where should you mount the front dash cam?
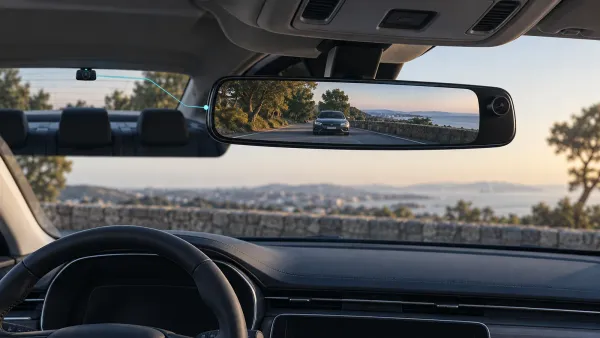
Choose a lawful position that keeps the driver's view clear. The camera also needs a clean, stable view through the windshield.
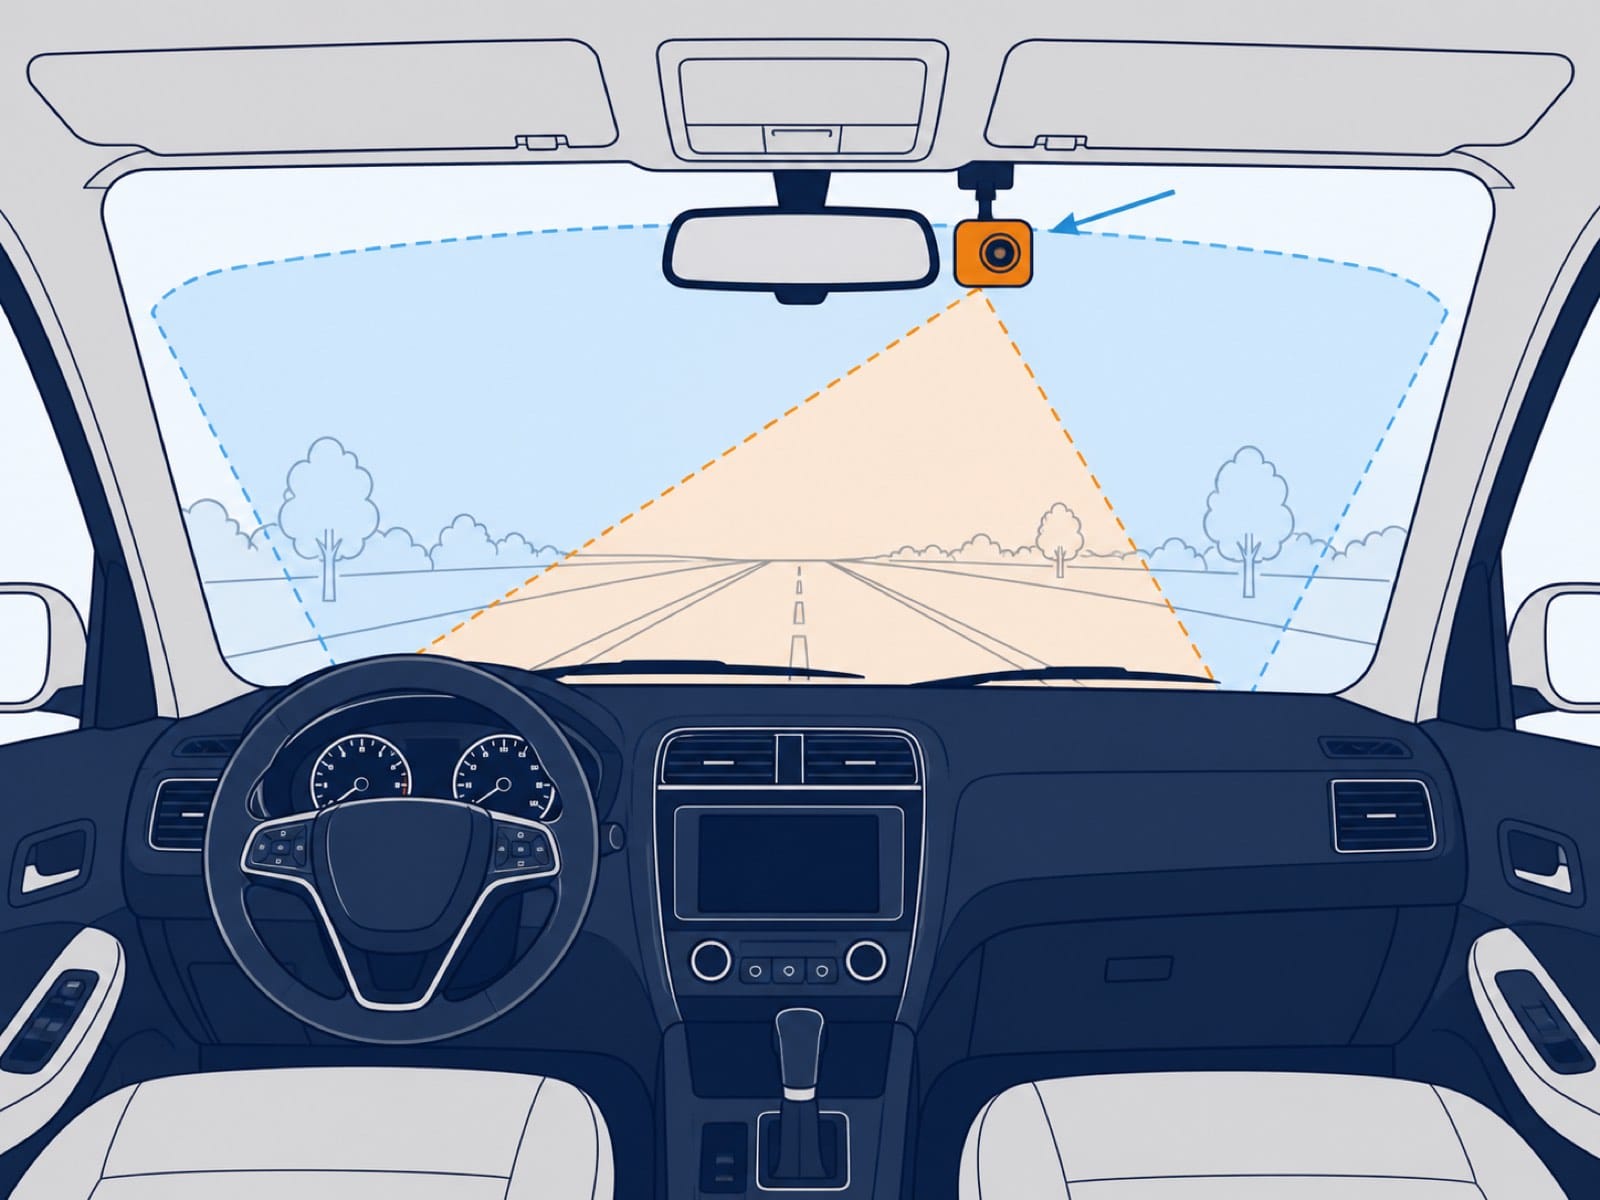
Garmin advises using an area cleared by the windshield wipers. It also warns against tinted areas and any position blocking the road view.
A high position near the mirror often works, but it is not automatically suitable. Check mirror movement, sensor housings, sun visors, and every camera lens.
Windshield-mounting rules vary by location. Confirm current rules where you drive before applying an adhesive pad.
Dry-fit the camera before using adhesive
Sit in your normal driving position. Hold the camera and mount together at the proposed location.
Check that the device does not hide traffic signals, pedestrians, mirrors, or the road. Move the mirror and lower each sun visor.
Connect the camera temporarily and inspect its live view. The road should be centered without a large dashboard or sky area dominating.
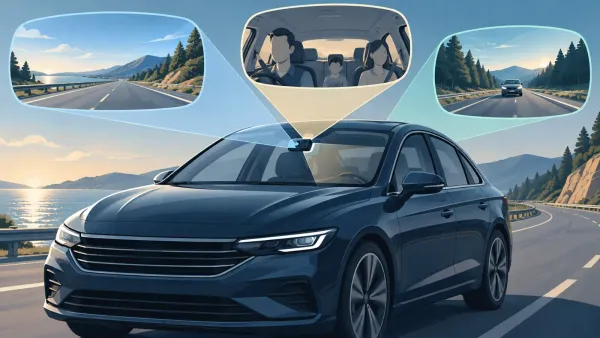
If the camera has a cabin lens, confirm that the mirror does not block it. Garmin specifically warns about cabin-view obstructions near the mirror.
Prepare the glass and attach the mount
Follow the mount instructions for surface preparation and temperature. Clean and dry only the area required for the pad or suction mount.
Do not place adhesive over a sensor housing, heating element, textured dot pattern, or surface the manufacturer excludes. Avoid guessing how the material will bond.
Apply the mount once the location and view are confirmed. Support it for the instructed period before hanging the camera, when required.
Attach the camera and recheck the live view. Some models also need a placement setting after physical mounting.
Garmin's X310, for example, asks the user to select horizontal placement and vehicle height.
Which power method should you choose?
Choose power based on the recording behavior you need. A plug-in connection is usually the simplest starting point for driving-only use.
| Power method | Best fit | Main limitation |
|---|---|---|
| Supplied vehicle-socket or USB adapter | Simple, removable driving setup | The socket may switch off with the ignition |
| Approved OBD power cable | Supported plug-in parking features | Compatibility varies and the diagnostic port is occupied |
| Model-specific hardwire kit | Hidden wiring and supported parking operation | Requires vehicle-specific electrical work |
| Approved dedicated battery system | Parking power separated from ordinary plug-in use | Adds hardware, charging, and installation requirements |
The connector shape does not prove compatibility. Check required input, supplied adapter, cable orientation, and supported power behavior.
Surfsight documents USB, OBD, and hardwire choices for its AI-12. Those specifications apply to that model, not every camera.
Check how the vehicle socket behaves
Some sockets turn off with the ignition. Others remain powered, or their behavior changes after the vehicle locks.
Test your socket instead of assuming. A continuously powered socket can keep the camera running after parking and discharge the vehicle battery.
Use only the camera's supported adapter. Do not cut the adapter off or connect its cable directly to vehicle voltage.
Decide whether parking mode is actually required
Parking mode needs supported power, camera settings, storage, and a documented transition after shutdown. Constant power alone does not establish safe parking operation.
Check how the manufacturer limits battery use. A timer or voltage cutoff is a protection setting, not a guaranteed recording duration.
If parked recording is essential, plan it before mounting. That decision can change the cable route and installation complexity.
How do you route a dash cam cable safely?
Route the cable along a verified path that avoids airbags, controls, heat, sharp edges, and moving parts. Secure it without crushing or stretching it.
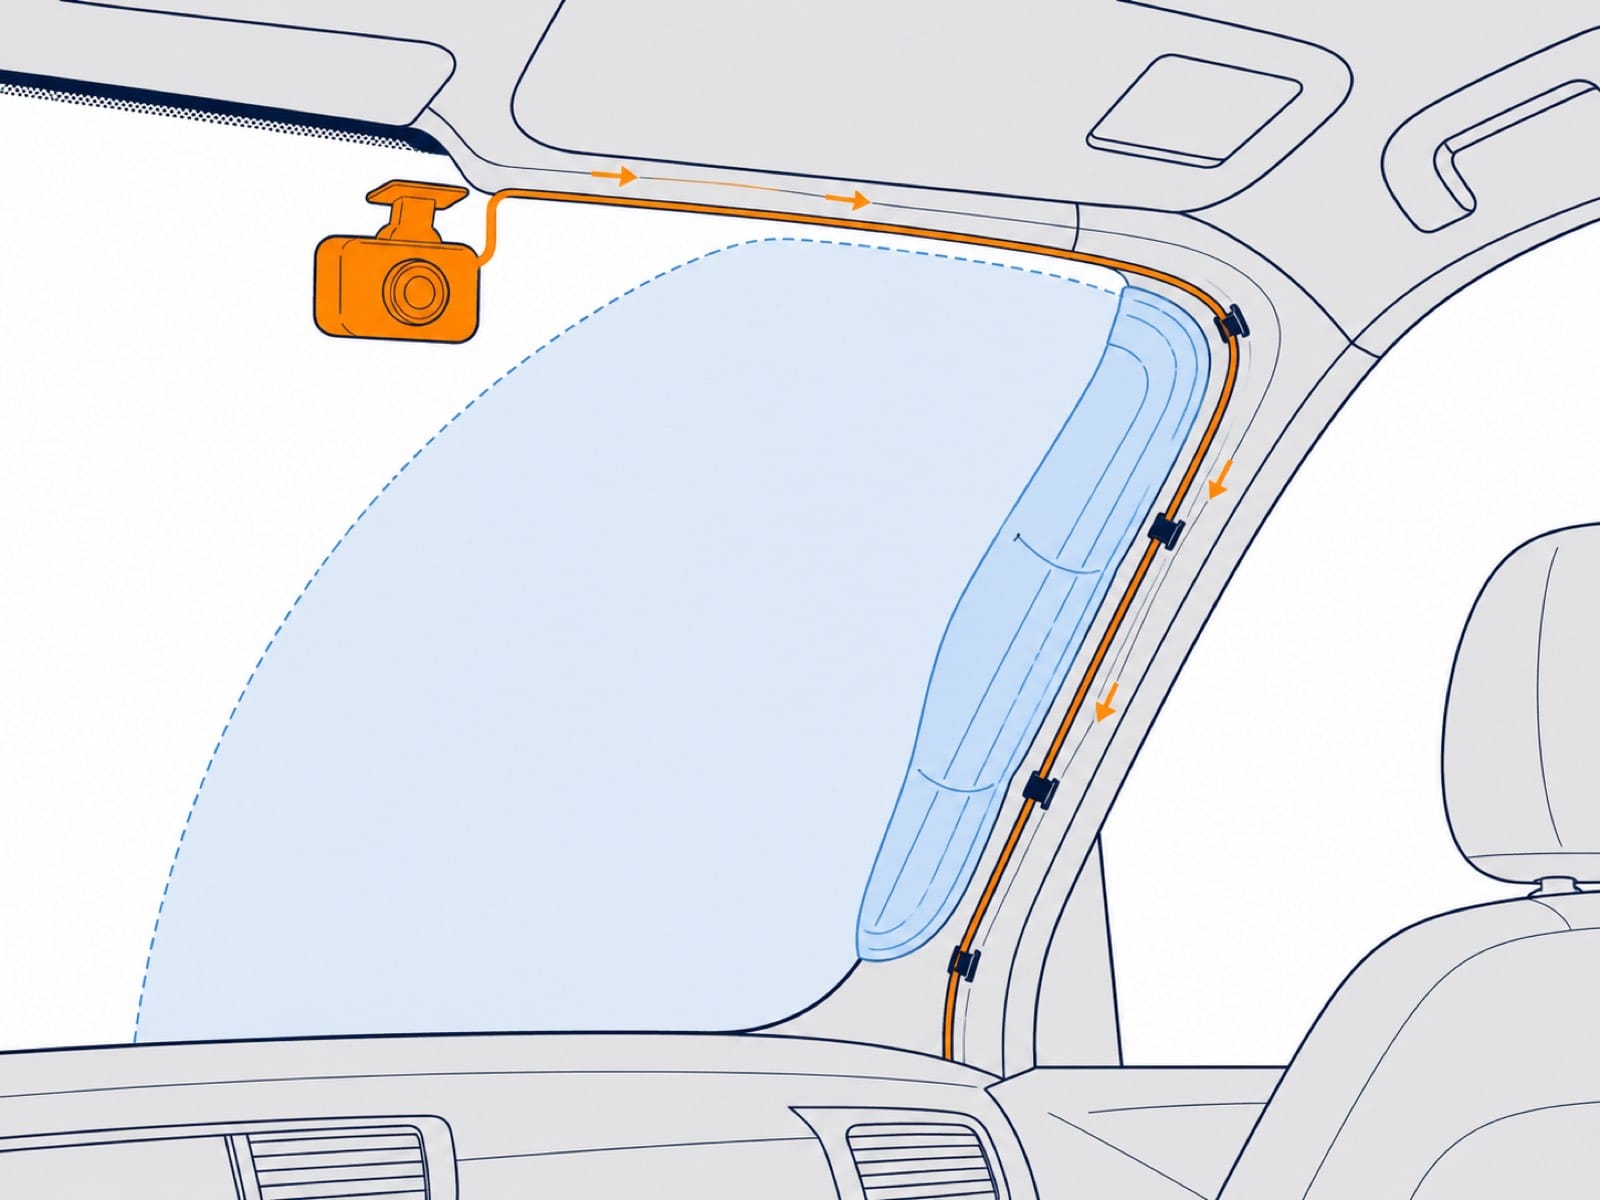
Start near the camera and follow the planned route. Leave only the service allowance required to connect or remove the device.
Never leave cable hanging across the driver's view. Keep it away from pedals, steering components, gear selectors, and seat mechanisms.
Route around the headliner and A-pillar carefully
The A-pillar commonly contains a curtain airbag. Do not tuck a cable there until you understand the vehicle's airbag layout and trim procedure.
Thinkware recommends researching airbag locations and trim removal. Its guidance follows factory cable management and keeps the added wire from impeding the airbag.
Do not run a cable across an airbag cover or deployment path. Do not puncture, compress, or attach anything to an airbag assembly.
Some airbag-area trim clips are single-use. The vehicle service information should determine whether a clip can be safely removed and reused.
Finish the route without creating a new hazard
Continue toward the selected power source while protecting the cable from exposed metal and moving parts. Avoid any location that can pinch it.
Use suitable clips or existing cable management where the vehicle permits. Replace trim fully, without trapping the wire or forcing a panel.
Store excess cable securely in an approved location. A loose coil near pedals or a steering mechanism is not an acceptable finish.
How do you install a plug-in dash cam?
A basic plug-in installation avoids fuse-box work. It is the most approachable route when the supplied adapter meets your needs.
- Read the camera and vehicle instructions.
- Install the compatible memory card.
- Test every camera and cable while parked.
- Dry-fit the mount and confirm a lawful, unobstructed view.
- Clean the approved glass area and attach the mount.
- Route the cable along the verified airbag-safe path.
- Secure the cable away from controls and moving parts.
- Connect the supplied adapter to the supported vehicle outlet.
- Start the vehicle and confirm normal recording.
- Play back a fresh clip before relying on the system.
Cobra describes the vehicle socket or supported USB port as the standard installation approach. It keeps the first setup simple and reversible.
Do not operate the camera or app while driving. Complete setup and playback checks while safely parked.
What changes when you install a rear camera?
A rear camera adds another view and a much longer cable route. Its mounting surface may also move with a hatch or tailgate.
Test the rear channel before routing. Confirm which cable end connects to the front camera and which reaches the rear unit.
Use only an approved extension when the supplied cable is too short. An ordinary cable with matching plugs may not carry the required signal reliably.
Mounting on fixed rear glass
Dry-fit the rear camera high enough for a useful view without blocking the driver. Check the recorded frame, not only the physical position.
Keep the lens clear of trim, cargo, tint boundaries, and large rear-heater elements. Follow the vehicle and camera guidance for the chosen glass area.
Route the cable along an airbag-safe path through the cabin. Do not cross seat-belt hardware or allow cargo to pull the cable.
Mounting on a hatch or tailgate
Open and close the hatch through its complete travel before final attachment. The cable must not tighten, rub, or become trapped.
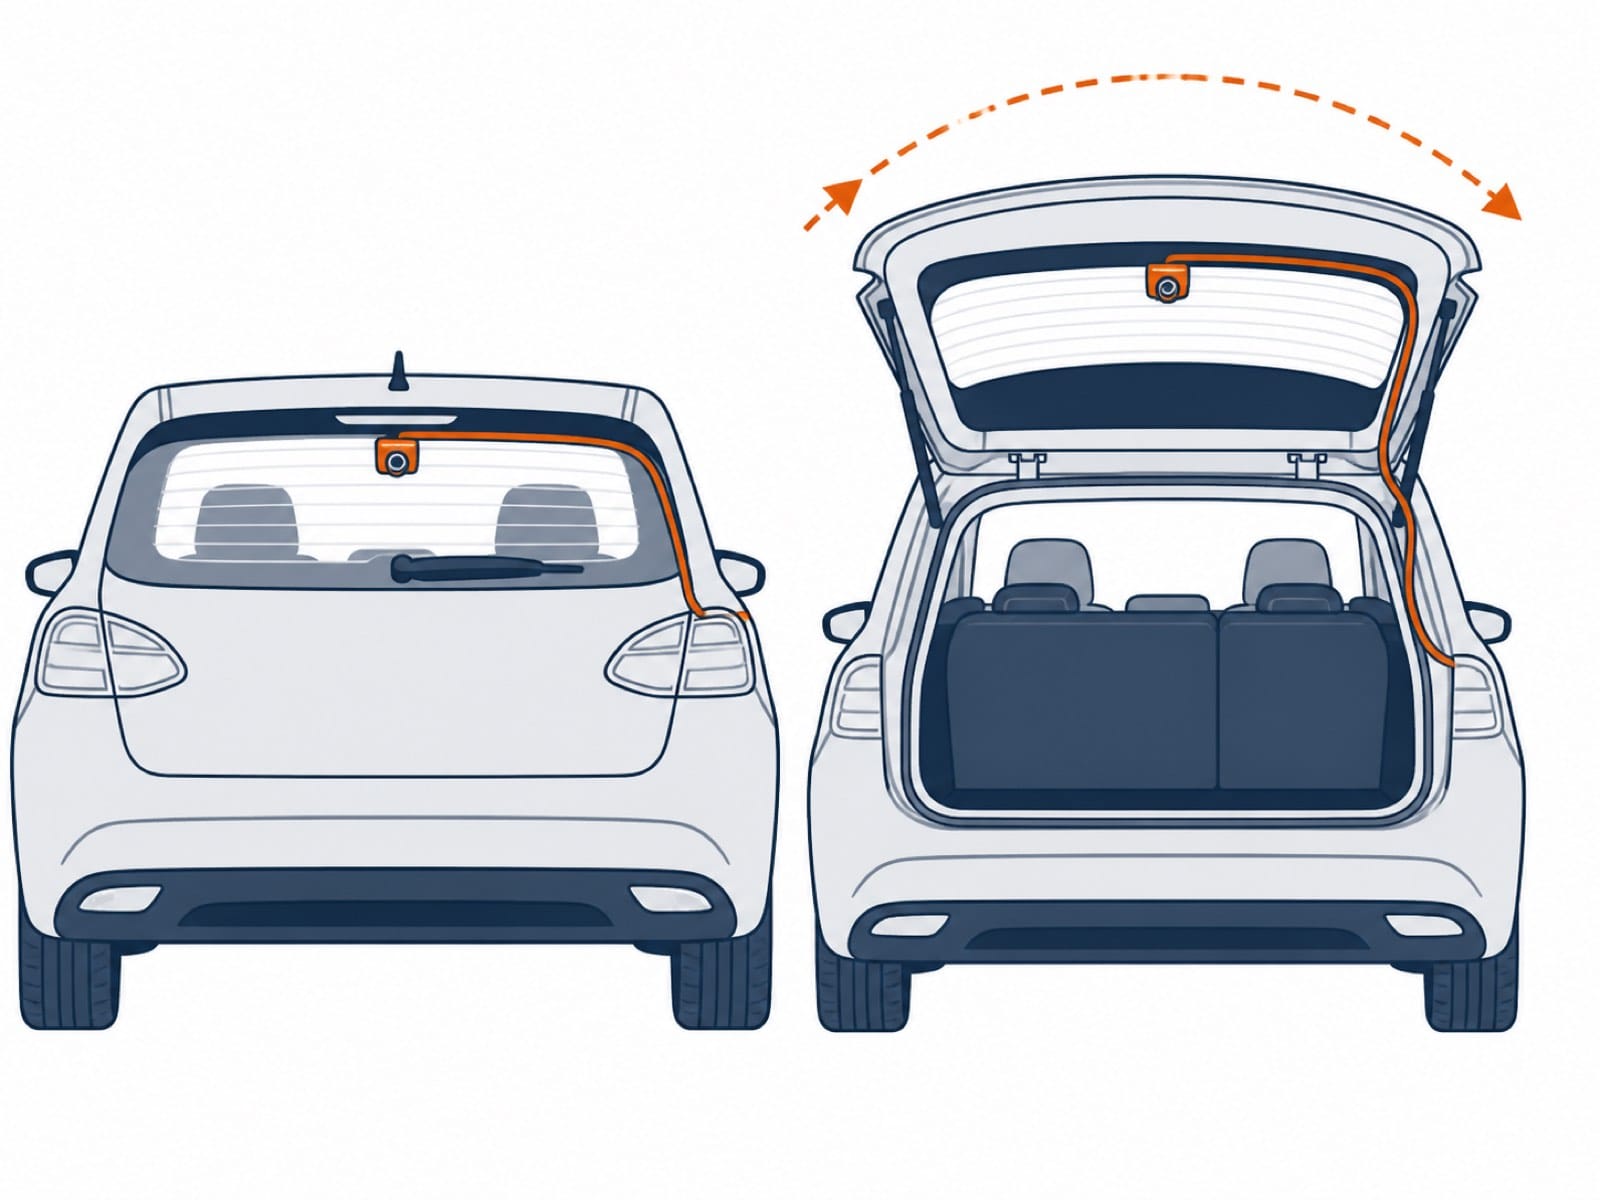
Cobra notes that a moving rear window needs enough cable movement for the liftgate to open. Concealing that cable can require vehicle-specific trim work.
Do not force a large connector through a factory grommet. Avoid piercing a weather seal or sharing a boot without documented approval.
After routing, repeat the movement test several times. Then confirm that the rear camera remains connected and correctly aimed.
Should you hardwire the dash cam yourself?
Hardwire only when the manufacturer and vehicle instructions support it, and you can identify every connection. Otherwise, use a qualified automotive installer.
Different kits use different wires, fuses, adapters, and shutdown logic. A color or fuse position from another installation is not reliable guidance.
Surfsight's current instructions require a qualified automotive technician. They also require vehicle service information and properly fused connections.
What a safe hardwire plan must establish
The installer must confirm the exact kit, fuse type, circuit behavior, ground point, and cable route. Each choice must suit the vehicle.
A supported parking kit may need both constant and ignition-switched power. Those circuits must be tested under the vehicle's relevant operating states.
Never choose a safety-critical circuit for convenience. Airbag, braking, steering, engine-control, and driver-assistance systems are not accessory power sources.
All current-carrying connections need the protection specified by the kit and vehicle guidance. Do not bypass a fuse or low-voltage protection.
Why generic fuse instructions are unsafe
Fuse layouts vary by model, trim, market, and build date. Some vehicles also manage accessory circuits electronically after shutdown.
An illustration cannot identify the correct fuse in your car. Use the vehicle service information and electrical measurements required by the installation procedure.
Stop if circuit behavior is inconsistent or a warning appears. Use a methodical troubleshooting process instead of probing unfamiliar systems.
What should you test after installation?
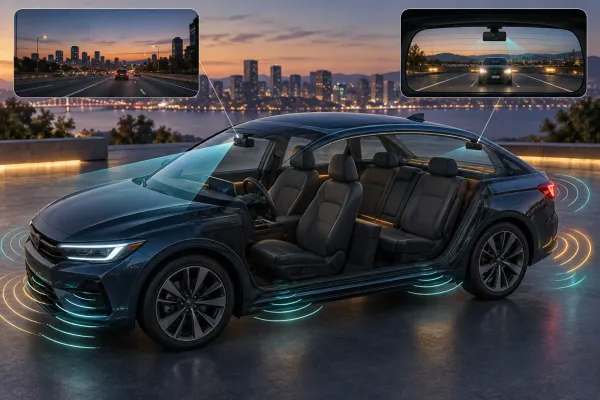
Verify a real file from every installed camera. Power lights and live previews do not prove that usable video reached the memory card.
Use this parked checklist:
- Confirm the front, rear, and cabin channels that should be present.
- Record a short clip and play back each channel.
- Check framing, orientation, focus, reflections, and obstructions.
- Verify date, time, time zone, and enabled overlays.
- Confirm the microphone setting matches your privacy decision.
- Check that the cable remains secure with mirrors and visors moving.
- Confirm normal camera startup with the vehicle.
- Test the documented shutdown or parking transition, when configured.
Garmin explains that supported cameras can start recording when powered. Still, retrieve a file rather than trusting only the startup indicator.
Complete a short, safe drive and review the result while parked. Recheck the mount and cable after the vehicle has experienced normal vibration.
What installation mistakes cause the most trouble?
Most avoidable problems begin with an assumption. Confirm the view, route, power behavior, and recording before calling the installation complete.
| Mistake | Likely consequence | Better check |
|---|---|---|
| Mounting before viewing the frame | Blocked or badly aimed video | Dry-fit with a live preview |
| Assuming the socket turns off | Unplanned battery drain | Test its locked-vehicle behavior |
| Crossing an airbag path | Possible deployment interference | Verify the vehicle-specific safe route |
| Pulling a rear cable tight | Disconnection or cable damage | Test full hatch movement |
| Copying another vehicle's fuse choice | Electrical faults or lost features | Use service information and testing |
| Trusting a power light | Missing or unusable recordings | Play back a fresh file |
Do not add adhesive clips where heat or movement can release them onto controls. Replace any damaged mount, cable, or connector before using the camera.
When should you use a professional installer?
Use a qualified installer when safe completion depends on skills or information you do not have. This is judgment, not a failure of DIY.
Professional help is appropriate when:
- Hardwiring requires unfamiliar electrical diagnosis.
- The cable route passes near airbags or complex trim.
- A hatch route needs work through factory wiring boots.
- The vehicle has sensitive driver-assistance or high-voltage systems.
- You cannot verify the correct power circuit or ground.
- A lease, warranty, or fleet policy controls modifications.
Thinkware strongly recommends professional installation. Its support guidance notes that vehicle layouts differ and improper work can cause damage.
Stop immediately for smoke, a burning odor, unusual heat, damaged insulation, or new vehicle warnings. Disconnect only when it is safe and seek qualified help.
Final installation checklist
The installation is ready only when the camera, route, power, and recorded files all check out. Use this final review while parked.
- The camera does not obstruct the driver's view.
- The lens sees through a clear, wiper-swept area.
- Every cable avoids airbags, controls, sharp edges, and moving parts.
- Trim sits correctly without pinching a wire.
- The approved power supply behaves as expected.
- Each camera records and plays a fresh file.
- Date, time, orientation, and privacy settings are correct.
- Parking mode changes state as documented, when installed.
- The vehicle operates normally with no new warnings.
Keep the camera manual and installation notes. Recheck the view after windshield work, trim work, or any disturbed mount.