
What Is G-Sensor on Dash Cam: 3-Axis Triggers & Lock Specs
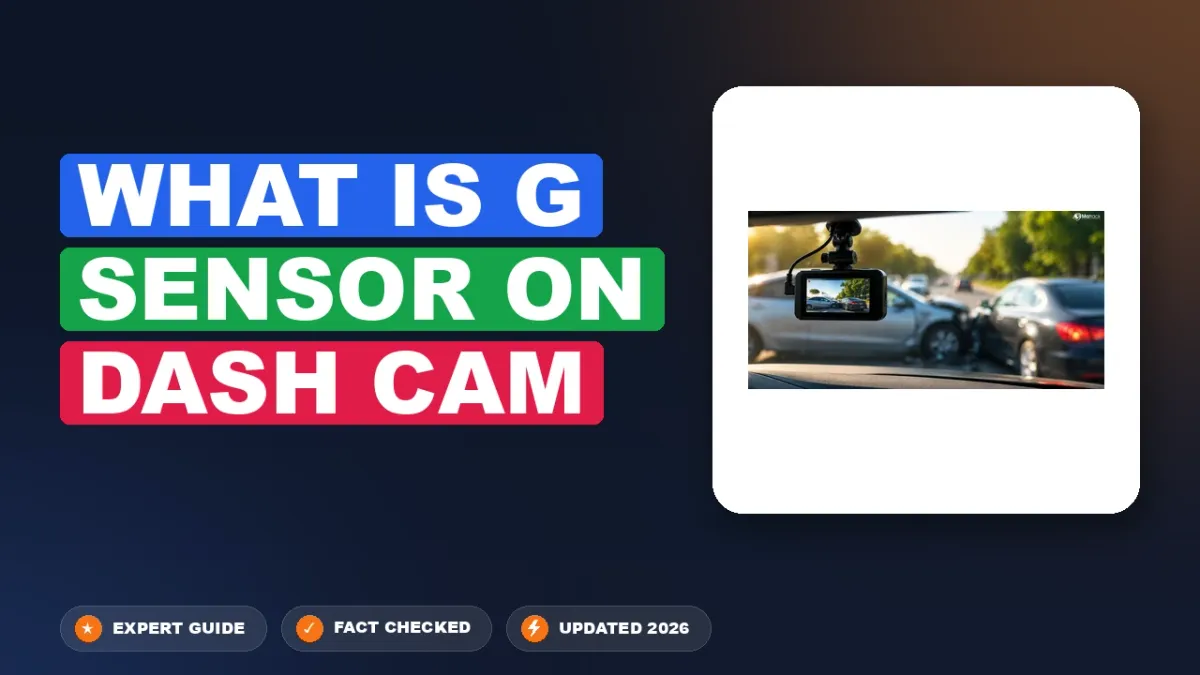
When an unexpected collision occurs, a dash cam must recognize the emergency instantly. A G-sensor—short for gravitational sensor—is an internal accelerometer that detects sharp changes in physical force, such as direct impacts, severe swerves, or emergency braking.
The moment it senses unusual force, it automatically flags and locks the current video clip into a protected folder, stopping standard loop recording from overwriting the event.
Understanding how this component measures movement, monitors parked vehicles, and responds to calibration settings helps you protect critical crash evidence while keeping your storage running smoothly.
What Is a G-Sensor on a Dash Cam? Definition and Basics
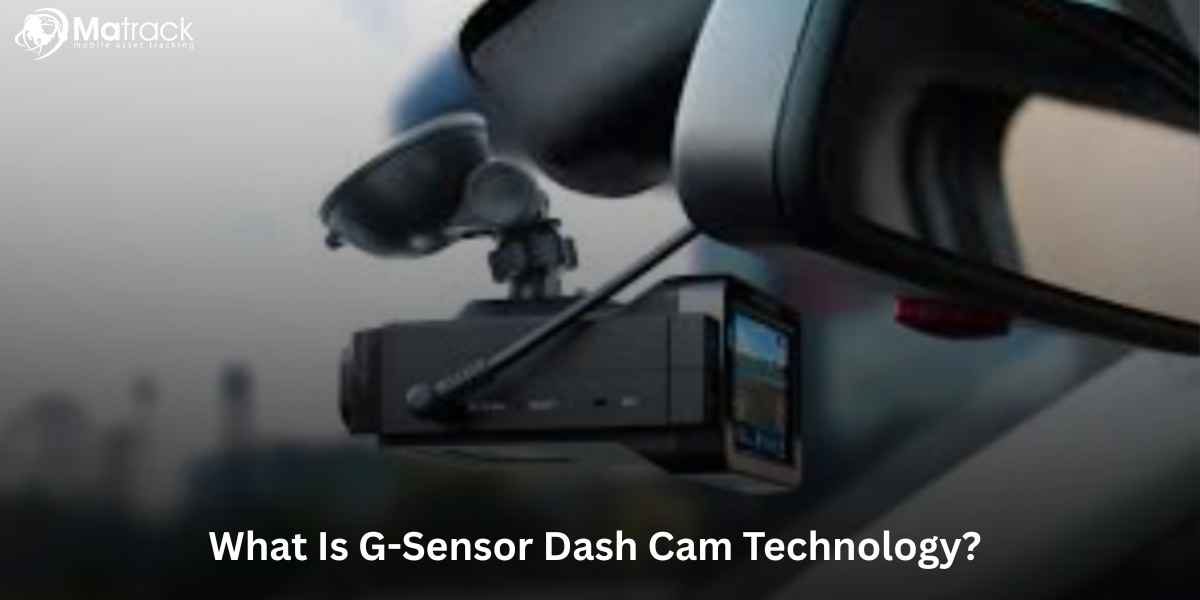
A dash cam G-sensor is an internal electronic detection module engineered to monitor physical movement and sharp kinetic changes. Known alternately as an accelerometer, gravity sensor, impact sensor, or shock sensor, this essential component serves as the primary alert mechanism for vehicle incident preservation.
What the 'G' Stands for in Vehicle Dash Cams
The 'G' in G-sensor refers to gravitational force, measuring acceleration and sudden velocity shifts relative to Earth's gravity. Under standard conditions, the sensor observes ordinary movement patterns like gradual stops, lane changes, and steady cruising speeds without initiating any emergency actions.
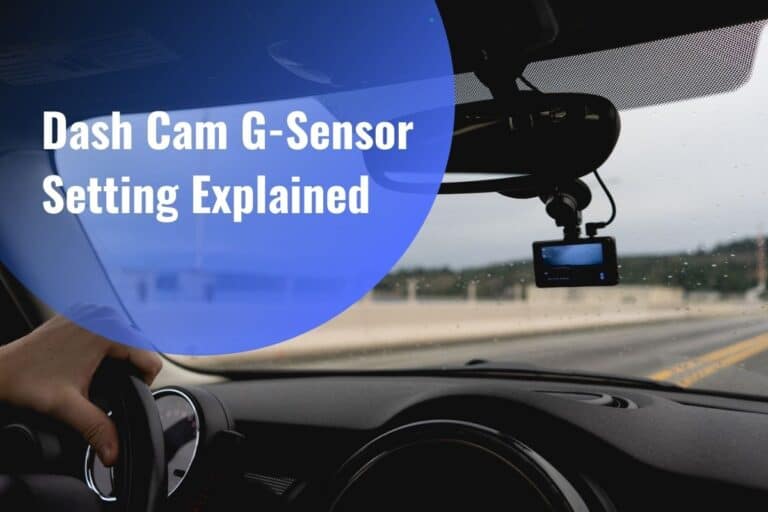
When an abrupt physical threshold is exceeded—such as experiencing an emergency brake maneuver at 45 mph that exerts sudden G-forces on the vehicle cabin—the sensor instantly logs the extreme inertia. It translates this physical shock wave into an immediate digital trigger for the dash cam's operating system.
Primary Function: Instant Incident Protection
The primary purpose of a G-sensor is to detect an impact or collision and automatically lock the corresponding video file so normal loop recording cannot overwrite it. Without this automated safeguard, critical footage of a crash could easily be erased as driving continues after an accident.
This process establishes a functional separation between continuous recording and event-triggered video protection. While standard continuous recording endlessly replaces older clips to preserve storage space, the G-sensor moves collision files into a secure, write-protected directory, guaranteeing the file remains intact for post-incident insurance evaluation.
Inside the Dash Cam G-Sensor: Hardware Component Breakdown
Translating sudden physical impact into digital commands requires precise coordination between silicon microstructures and onboard processing logic. This real-time translation bridges mechanical inertia and file-level security.
The Micro-Electro-Mechanical (MEMS) Chip
MEMS accelerometer chips are soldered directly onto the dash cam's main printed circuit board (PCB). These micro-scale integrated circuits combine mechanical sensing arrays with signal-conditioning electronics in an airtight, shock-resistant housing.
Inside the chip, microscopic proof masses move under acceleration and alter electrical capacitance. For example, a microscopic silicon proof mass deflecting between capacitor plates during deceleration changes inter-electrode spacing, creating a proportional voltage differential translated into digital data.
Modern automotive MEMS proof masses are etched from single-crystal silicon. They detect rapid multi-axis g-force changes within milliseconds while consuming mere microamps of power directly from the mainboard.
Firmware Algorithms and the SoC Trigger Mechanism
Firmware detection algorithms interpret raw G-force data against preset threshold levels inside the system-on-chip. The camera SoC constantly pulls these digital acceleration values via standard high-speed bus interfaces like I2C or SPI.
When force spikes breach configured limits, the SoC validates the trajectory. Specialized firmware routines analyze the signal curve to distinguish genuine collision forces from continuous chassis vibration or normal road imperfections.
Following validation, a rapid operating system handoff executes the write-protection trigger. The kernel alerts the video container manager to assign read-only metadata to the active recording buffer, instantly insulating the footage from standard loop overwrites.
How the G-Sensor Works: Understanding 3-Axis Impact Detection
The X, Y, and Z Spatial Planes Explained
Most dash cam G-sensors monitor three spatial planes: X (side-to-side), Y (front-to-back), and Z (up-and-down). This three-dimensional coordinate grid maps directly to the vehicle chassis, allowing the sensor to track kinetic forces from any angle around the car body.
The Y-axis measures longitudinal acceleration and deceleration along the vehicle's centerline. It registers sudden changes in momentum caused by hard emergency braking, frontal collisions, or direct rear-end impacts.
The X-axis tracks lateral kinetic forces across the vehicle's width. For example, a side-impact T-bone collision generating a high spike along the X-axis while longitudinal Y-axis forces remain relatively low indicates a direct broadside strike.
The Z-axis measures vertical displacement. It captures upward and downward movement, distinguishing events such as crossing aggressive speed bumps, striking deep potholes, or experiencing a vehicle rollover.
Vector Calculations During Multi-Directional Crashes
Real-world collisions rarely occur neatly along a single plane. Oblique angle crashes, clipping strikes, and spin-outs generate dynamic forces across multiple axes at the same time.
To evaluate complex crashes, the sensor calculates the total vector magnitude across all three channels simultaneously. By processing the square root of the sum of squared forces (√(X² + Y² + Z²)), the system identifies severe kinetic spikes regardless of the impact vector.
The device applies baseline calibration to differentiate ordinary road dynamics from real vehicular impacts. It continually offsets Earth's natural 1G downward gravity on the Z-axis and dampens normal chassis vibrations, ensuring only genuine collision forces trigger an alert.
What the G-Sensor on a Dash Cam Does During Loop Recording
Loop Recording Mechanics and File Protection
Dash cams continuously record driving footage in small chunks, typically one, three, or five-minute video segments. Under normal driving conditions, the loop recording cycle automatically overwrites the oldest unlocked files once the microSD card reaches full storage capacity.
When the internal G-sensor detects sudden deceleration, sharp directional shifts, or an impact, it interrupts this routine cycle. The sensor triggers an instant command that changes the active video file's operating system attributes from normal read-write to read-only (RO) status.
Pre- and Post-Impact Video Buffer Windows
To ensure critical accident context is not lost, dash cams continuously write temporary footage into volatile memory (RAM). When the G-sensor trips, the camera commits this buffered data to the microSD card alongside the active recording stream.
Depending on camera firmware settings, lock buffer durations typically save between 10 to 60 seconds of pre- and post-impact footage. For instance, a dash cam may preserve 10 seconds of driving before a front-end crash and 20 seconds post-crash into a write-protected directory.
The Role of the Event and Read-Only Folders
To keep crucial incident files safe from automatic deletion, the camera moves or flags these protected clips inside dedicated directories on the microSD card. These system partitions are usually labeled "RO", "Event", or "SOS".
Because locked emergency files do not overwrite themselves during standard loop cycles, they remain secure on the card indefinitely. Drivers must eventually delete these protected clips manually or run a periodic card format to reclaim that reserved flash memory.
Dash Cam G-Sensor in Parking Mode: Requirements and Fundamentals
When your vehicle is parked and turned off, the internal G-sensor acts as an automated sentry. In this configuration, the dash cam monitors for physical disturbances, protecting the vehicle against hit-and-runs or vandalism without draining power by recording empty footage continuously.
Low-Power Sleep and Instant Wake-Up Recording
To conserve energy, impact detection parking mode places the camera into a low-power sleep state. The camera deactivates the screen, Wi-Fi modules, and primary processing cores, leaving only the G-sensor circuit powered to monitor physical movement or structural vibrations.
For instance, if a parked car is hit by an opening door in a parking lot, the G-sensor detects the jolt and sends an instant wake-up trigger. Wake-up latency typically requires 1 to 2 seconds, which is the time needed for the hardware to boot, calibrate the lens sensor, and write the incident video to protected storage.
Why Hardwire Kits or Dedicated Batteries Are Mandatory
Most standard 12V auxiliary cigarette lighter sockets cut electrical transmission as soon as the vehicle ignition turns off. Without an active electrical feed, the dash cam shuts down entirely, leaving the G-sensor unpowered and unable to register parking incidents.
For parking mode impact detection to function via G-sensor while the vehicle is turned off, the dash cam requires an uninterrupted power source such as a hardwire kit or dedicated battery pack.
A hardwire kit connects directly to a constant-power slot in the vehicle fuse box, routing continuous current while regulating voltage cutoff thresholds to prevent a dead starter battery. Alternatively, a dedicated lithium-iron-phosphate (LiFePO4) dash cam battery pack provides isolated, continuous current without drawing from the vehicle's electrical system.
Setting Dash Cam G-Sensor Sensitivity to Avoid Full SD Cards
Dash cam firmware typically offers two to five sensitivity levels, commonly labeled as Low, Medium, and High. These settings dictate the magnitude of force required to trigger the "event" recording mode, which locks footage from being overwritten by the standard loop recording process. Proper calibration is essential to preserve storage capacity.
Sensitivity Levels Compared (Low, Medium, High)
High sensitivity captures the most minor vibrations, while Low sensitivity requires a significant jolt. Users with soft-suspension luxury sedans often find Medium a balanced starting point. Conversely, those driving stiff, performance-oriented vehicles should prioritize Low sensitivity to prevent the camera from over-reacting to standard road feedback.
The Pothole and Speed Bump False-Positive Problem
When G-sensor sensitivity is set too high, the dash cam interprets routine road irregularities as potential collisions. A stiff sports car hitting standard expansion joints or speed bumps can trigger multiple "locked" file events. For example, a single 30-minute commute on rough pavement might generate 15 unnecessary locked files.
Because these event files are protected from the camera's loop-recording cleanup, they rapidly consume SD card space. Once the card is full, the device may stop recording entirely or prompt frequent errors. Users should periodically format their memory cards to clear out these lingering, non-deletable fragments and ensure optimal read/write cycles.
How to Read This Chart
This table serves as a starting point for calibrating your sensor to your specific vehicle dynamics. The "Suggested Setting" column provides the manufacturer's typical recommendation based on the vertical travel and damping characteristics of your vehicle's suspension. Performance vehicles, which have shorter, firmer spring travel, inherently create higher G-force spikes during normal driving, necessitating a "Low" sensitivity setting to avoid false triggers.
The "Road Condition Adjustment" column indicates how to react if you notice your storage card filling up prematurely. If you find your SD card is constantly reaching capacity due to non-incident events, move your sensitivity one step lower. Because firmware implementations vary significantly across brands, always verify your specific model's sensitivity range via the settings menu, as some devices utilize 1–5 numerical scales rather than text labels.
Regularly formatting your SD card is essential. Even with the perfect sensitivity setting, accumulated locked event files will eventually exhaust your storage capacity. Perform a manual format via the dash cam menu every 30 to 60 days to prevent data corruption and ensure the loop recording function remains active.
G-Sensor vs Motion Detection on Dash Cams: Key Differences
Physical Shock vs Optical Frame Analysis
Motion detection relies on optical frame analysis, monitoring continuous pixel changes across the image sensor to detect visual movement outside the car. In contrast, an integrated G-sensor ignores visual scenes entirely, measuring kinetic movement, vibrations, and physical shock waves traveling directly through the chassis.
This operational difference dictates distinct triggering behavior in parking scenarios. For instance, windblown tree branches or passing shadows frequently trigger optical motion detection without activating the G-sensor.
Conversely, a runaway shopping cart denting the rear bumper creates physical displacement that instantly trips the G-sensor. This kinetic event locks the file securely, even if the impact occurs completely outside the camera lens's field of view.
Proactive Radar and Manual Emergency Overrides
While G-sensors are purely reactive—saving footage only upon physical contact or severe vehicle movement—radar detection systems offer proactive defense. Radar modules emit high-frequency radio waves to sense approaching objects before an impact occurs, waking the camera to capture pre-incident context.
For non-collision incidents, drivers must utilize manual emergency override buttons. Critical events such as aggressive road rage encounters, reckless driving ahead, or witnessing a third-party collision impart zero kinetic force to your vehicle.
Because these non-impact threats leave the G-sensor completely dormant, pressing the physical emergency lock button ensures the active video clip bypasses loop recording and cannot be overwritten.
How to Read the Sensor Comparison Table
This table outlines the trade-offs between physical shock sensing and optical surveillance technologies. "Trigger Mechanism" identifies the specific input metric required to shift the dash cam from dormant monitoring to active file protection.
The "Power Usage" column indicates relative drain on your vehicle's 12-volt battery. Optical motion detection requires continuous image sensor power and processor polling to analyze frame differences, causing significantly higher milliampere (mA) draw than kinetic sleep modes.
Radar and G-sensor modes allow the primary image processor to remain powered off until triggered, conserving battery reserve during long-term parking. Note that exact power draw in milliamperes varies by manufacturer design and operational resolution; verify for exact configuration in your hardware documentation.
Fixing Common What Is G-Sensor on Dash Cam Setup Pitfalls
Resolving Memory Card Full Errors Despite Loop Recording
Many drivers set their G-sensor to "High" sensitivity under the false belief that it maximizes security. In reality, hyper-sensitive thresholds cause minor potholes, speed bumps, and firm braking to register as major collisions, rapidly accumulating protected clips.
Locked emergency files do not overwrite themselves; they must eventually be manually deleted or formatted on the SD card. When these protected files fill the drive's designated partition, loop recording stalls and the dash cam presents an unexpected "SD Card Full" warning.
Failing to periodically format the memory card leaves the card unable to store new emergency recordings when locked files occupy too much space. Establish a simple monthly routine: back up any needed footage, run the camera's internal format utility, and firmly tap the housing to verify sensor triggers.
Mounting Stability and Mechanical Vibration Interference
Physical mounting faults often masquerade as internal sensor bugs. Loose brackets, worn ball-and-socket joints, or degraded suction cups cause the unit to bounce independently from the vehicle chassis, creating severe artificial vibration spikes.
Consider a suction cup mount slightly wobbling on rough pavement, registering continuous 1.5G spikes that fill an SD card within 48 hours. The camera interprets this mechanical instability as a chain of crashes rather than routine highway travel.
To eliminate phantom triggers, secure all mounting screws tightly. Replace flexible, long-arm suction assemblies with compact, rigid adhesive mounts fitted with 3M VHB tape, anchoring the sensor directly to the windshield glass.
- ✓ Definition and basics: A G-sensor uses a 3-axis MEMS accelerometer to detect sudden kinetic changes across horizontal, vertical, and lateral planes.
- ✓ Loop protection overview: When triggered, the sensor moves active video clips into a write-protected directory so routine recording cycles cannot delete them.
- ✓ Parking mode fundamentals: The sensor enables energy-saving surveillance, waking a parked, hardwired camera immediately upon detecting a physical bump or break-in attempt.
- ✓ Sensitivity calibration: Calibrating the sensor to a balanced medium setting prevents rough roads and potholes from filling the memory card with false emergency files.
- ✓ G-sensor vs optical motion detection: G-sensors measure real physical force and inertia, whereas motion detection monitors visual pixel shifts through the optical lens.
❓ Frequently Asked Questions
1 What is a G-sensor on a dash cam?
The fundamental definition of a dash cam G-sensor is a built-in micro-electromechanical accelerometer that detects kinetic force. As an essential hardware component, it measures gravitational force along three physical axes to identify sudden vehicle shifts, severe emergency braking maneuvers, or direct crash impacts during driving and parked monitoring.
2 How does a dash cam G-sensor work?
A G-sensor constantly measures acceleration across horizontal (X), longitudinal (Y), and vertical (Z) planes. When external forces suddenly exceed the factory or user-configured threshold, the sensor triggers an internal firmware interrupt. This immediately routes the active video segment into a secure partition on the micro-SD card, shielded from deletion.
3 Why is a G-sensor important for loop recording?
Loop recording continuously overwrites the oldest driving clips to prevent storage cards from running out of space. A G-sensor is critical because it identifies collisions and automatically locks that specific segment as write-protected. Without this mechanism, subsequent normal driving would permanently overwrite your decisive insurance and legal accident footage.
4 What is the difference between a G-sensor and motion detection?
A G-sensor measures physical impact, vehicle vibration, and kinetic inertia using internal mechanical sensors. In contrast, motion detection relies on the camera lens and image processor to monitor visual pixel changes within the frame. G-sensors detect physical bumps, while motion detection spots approaching people, passing vehicles, or environmental movement.
5 How should I set dash cam G-sensor sensitivity?
Start by setting your G-sensor sensitivity to medium for everyday driving. If rough asphalt, speed bumps, or rail crossings trigger frequent false event locks, dial it down to low. Always verify parking mode retains high sensitivity so the dash cam successfully wakes up to document minor parking lot scrapes.
6 What does the G stand for in G-sensor?
The 'G' stands for gravitational force. It measures changes in velocity and direction relative to Earth's gravity (1G = 9.8 m/s²), detecting sudden stops, turns, or collision impacts.





