
How to Connect Dash Cam to Phone Step-by-Step 2026 Guide
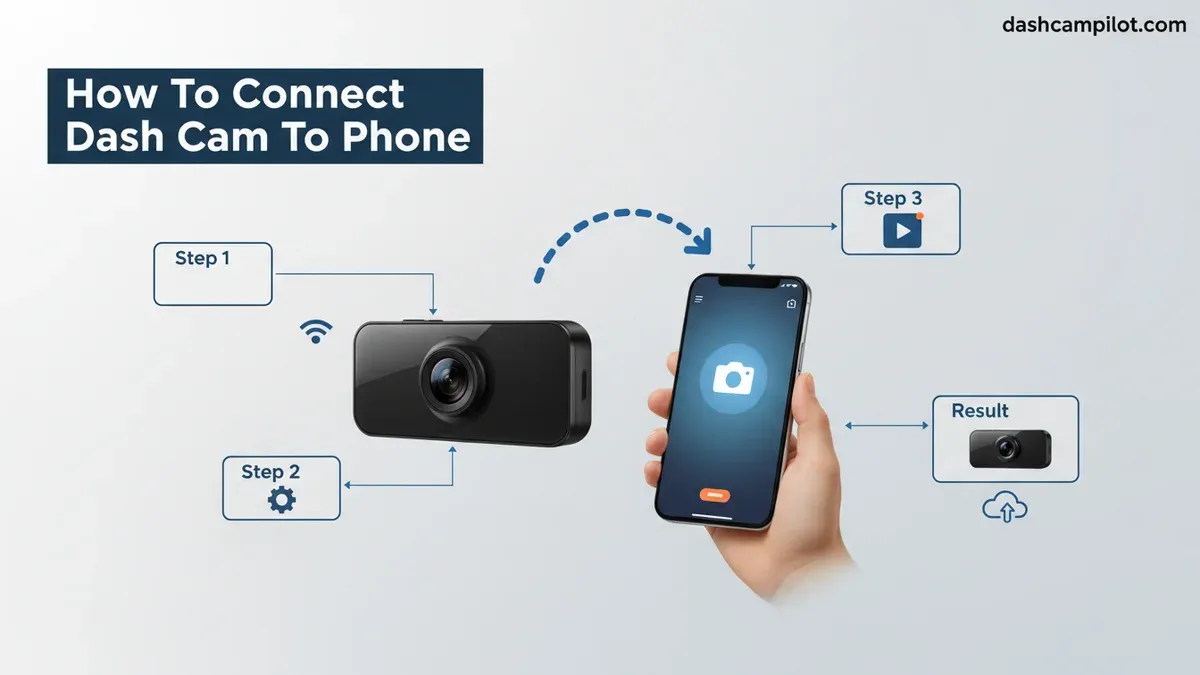
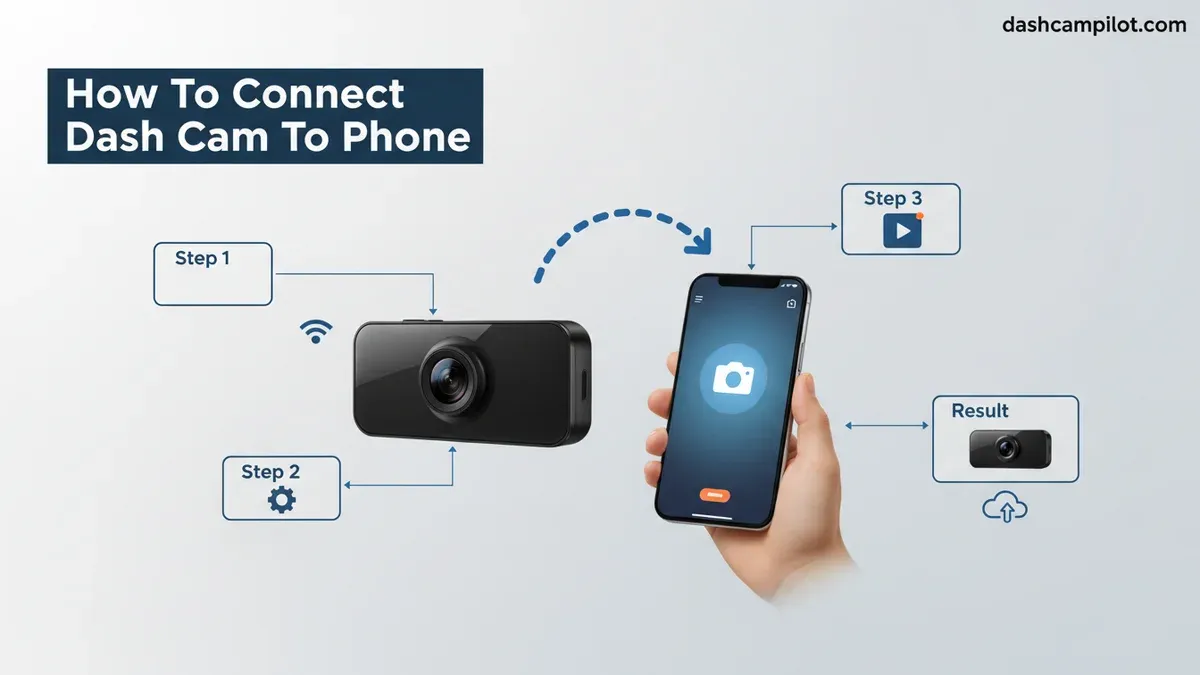
Connecting your dash cam to your smartphone requires establishing a direct, local Wi-Fi connection between the two devices rather than routing data through the internet or your home router. Modern dash cams create an ad-hoc Wi-Fi network using an onboard 5GHz or 2.4GHz transmitter, allowing your iOS or Android device to access live feeds, adjust sensor settings, and download incident clips directly through a companion app.
Getting this link working matters most when an accident occurs. You need immediate, reliable access to export high-definition video directly to your phone to present to traffic officers or upload instantly to an insurance claim portal, entirely bypassing the need for a computer or physical card reader.
Key Takeaways
- Dash cam Wi-Fi creates a local direct link and does not provide active internet access.
- Most dash cam Wi-Fi networks use the default password 12345678 or 1234567890.
- Disable mobile cellular data and active VPN apps if the connection continuously drops.
- Always tap 'Stay Connected' or 'Keep Trying' when iOS or Android displays no-internet alerts.
- Use a portable USB-C or Lightning OTG card reader as an instant wireless backup.
Why Dash Cams Struggle to Connect: How Local Camera Wi-Fi Actually Works
The biggest source of confusion when pairing a dash cam is misunderstanding what the camera's Wi-Fi signal actually is. Your dash cam is not a cellular hotspot. It does not provide web browsing, stream music, or connect to the wider internet. Instead, it operates strictly as an isolated local access point, functioning like an offline router inside your vehicle cabin.

The "No Internet" Trap and Operating System Conflicts
Modern mobile operating systems are engineered to abandon weak or non-functional internet connections. When your phone joins the dash cam's local Wi-Fi network, it instantly detects that there is no incoming data stream from the web. By default, features like Apple's Wi-Fi Assist or Android's Network Switcher will immediately drop the dash cam's Wi-Fi network and jump back to cellular data or search for a public hotspot.
- Zero Outbound Data: The camera's network offers strictly local file transfer with 0 Mbps throughput to the web.
- Bandwidth Channeling: High-bandwidth 5GHz connections transfer 4K video clips rapidly within a six-foot radius, but have poor wall-penetrating ability if you step away from the car.
- IP Assignment: The dash cam assigns your phone a static local IP (typically
192.168.X.X) solely for direct media streaming.
Master Dash Cam Phone Sync in 7 Simple Steps
Connecting your dash cam directly to your smartphone unlocks instant footage reviews, real-time camera alignment, over-the-air firmware updates, and rapid video downloading right to your camera roll without ever removing the microSD card. While the pairing process relies on a local Wi-Fi or Bluetooth bridge rather than the public internet, small configuration mistakes often prevent smartphones from recognizing the camera. Following this structured action plan ensures a reliable, seamless handshake between your mobile device and dash cam every single time.
Step 1: Identify and Download the Dedicated Companion App
What you need: Smartphone (iOS 12.0+ or Android 8.0+), active mobile data or home Wi-Fi connection, and your dash cam user manual or retail packaging.
Instructions: Check your dash cam’s manual, device screen, or outer box to find the exact manufacturer application name (such as VIOFO, Nextbase Cam Viewer, 70mai, or Garmin Drive). Open the Apple App Store or Google Play Store, search for the official developer, and download the software. Avoid third-party generic camera apps, as proprietary camera chipsets require vendor-specific network protocols to decode video streams smoothly. Verify the app has received recent updates to ensure ongoing compatibility with your phone's operating system.
Pro Tip: Look for a printed QR code on the dash cam screen or user booklet; scanning it directly bypasses clone or phishing apps mimicking legitimate brands.
Step 2: Power the Dash Cam with Stable Vehicle Current
What you need: Vehicle ignition key, 12V cigarette lighter adapter or hardwire kit, and a formatted high-endurance Class 10/U3 microSD card inserted into the camera.
Instructions: Ensure your dash cam is firmly mounted to the windshield and connected to its 12V power supply. Turn your vehicle ignition to the "ACC" (Accessory) or "ON" position to deliver uninterrupted current. Most dash cams will chime, illuminate an LED indicator (usually blue or green), and begin their initial boot cycle within 5 to 10 seconds. Never attempt pairing relying solely on the internal emergency battery or supercapacitor, as these power reserves only hold enough charge for 3 to 15 seconds of emergency file closure.
Pro Tip: Keep your engine idling or parked safely with the ignition on to prevent voltage drops that can abruptly trigger camera reboots during data transfer.
Step 3: Enable the Dash Cam's Internal Wi-Fi Broadcast
What you need: Physical access to the dash cam buttons or touchscreen interface.
Instructions: Locate the dedicated Wi-Fi button on your dash cam body or navigate into the setup menu using the physical directional keys or touchscreen. Press and hold the Wi-Fi toggle for 2 to 3 seconds until you hear an audio prompt (e.g., "Wi-Fi enabled") or see a Wi-Fi icon appear on the display screen. The camera screen should present its unique Network Name (SSID), such as "VIOFO_A129_XXXX" or "Garmin_DC_57", along with a temporary network security key.
Pro Tip: If your camera features dual-band Wi-Fi (2.4GHz and 5GHz), select the 5GHz frequency band in device settings for significantly faster clip download speeds, provided your smartphone supports it.
Step 4: Adjust Critical Smartphone Connectivity Permissions
What you need: Your smartphone operating system settings menu.
Instructions: On your phone, open Settings > Apps > [Your Dash Cam App]. Grant permissions for "Local Network", "Nearby Devices", "Photos/Storage", and crucially, "Precise Location". Modern Android and iOS systems require location clearance to discover peer-to-peer Wi-Fi broadcasts. Next, temporarily disable "Mobile Data" or "Cellular Data" in your quick control center. Because the dash cam’s Wi-Fi network carries no outbound internet connection, phones often automatically reject or drop the Wi-Fi connection in favor of 4G/5G mobile data unless mobile switching is restricted.
Pro Tip: Turn off VPN configurations (like Cloudflare, NordVPN, or corporate profiles), as active VPN tunnels routinely block connections to local ad-hoc camera IP addresses (such as 192.168.1.254).
Step 5: Connect to the Dash Cam Wi-Fi Network
What you need: Smartphone Wi-Fi settings panel and the camera's default access password.
Instructions: Open your smartphone's primary Wi-Fi settings menu and refresh the list of available local networks. Locate the SSID that corresponds to your dash cam model and tap it. When prompted for a network security key, enter the manufacturer's factory default password. For the vast majority of brands, this is standardly set to "12345678", "88888888", or "1234567890" (refer to your specific user manual). Wait 10 to 15 seconds for your device to obtain an IP address. You should see a blue checkmark or connected icon next to the camera network name.
Pro Tip: If your phone displays a prompt stating "No Internet Access: Tap to keep connection?", you must tap "Yes" or "Always Keep Connected", otherwise your phone will immediately terminate the link.
Step 6: Launch the App and Finalize Device Handshake
What you need: Connected companion app on your smartphone screen.
Instructions: Leave phone settings and launch your proprietary dash cam app. The app homepage will typically feature a large "Connect", "Add Device", or "Connect Camera" button. Tap this option to finalize the software handshake. The application will ping the dash cam's local gateway and initialize the control dashboard. Once connected, your dash cam display may show a "Connected" symbol or black out to conserve system resources and divert processing power toward wireless video transmission.
Pro Tip: If the app fails to auto-detect the camera, close the app completely from your multi-tasking app switcher, confirm the Wi-Fi checkmark remains active in phone settings, and relaunch the app cleanly.
Step 7: Calibrate Live Stream, Camera Settings, and Clock
What you need: The app's live view viewfinder and video library screen.
Instructions: Open the "Live View" tab within the app to see a real-time camera feed on your phone. Adjust your dash cam mount on the windshield until the horizon splits the screen exactly in half (50% sky, 50% road) to optimize automatic exposure metering. The app will automatically synchronize its internal date and time clock with your smartphone’s network time, ensuring admissible legal timestamps. Finally, test the connection integrity by entering the file album, selecting a 1-minute clip, and downloading it directly to your mobile photo library.
Pro Tip: Download emergency-locked or parking-incident clips while parked; streaming or downloading high-bitrate 4K files while driving can cause the camera unit to overheat or drop connection frames.
✅ Final Checklist
- Dash cam companion app is installed with Local Network, Storage, and Location permissions granted.
- Vehicle ignition provides active 12V power so the dash cam remains continuously powered.
- Phone Wi-Fi is actively paired with the dash cam's specific SSID (mobile data temporarily paused if needed).
- Prompt to "Stay Connected Without Internet" has been acknowledged and approved.
- Live view feed is verified and dash cam time stamp matches your smartphone's real-time clock.
Important Notes:
- Safety Warning: Never attempt to connect, browse, or adjust dash cam settings on your smartphone while operating a motor vehicle. Always pull over to a safe, designated parking spot.
- When to Seek Professional Help: If the camera repeatedly loses power during pairing, the vehicle fuse tap or hardwire harness may be drawing unstable voltage; consult a certified automotive electrician.
- Estimated Time and Cost: Total setup time takes roughly 5 to 10 minutes. The connection process uses free companion apps and carries zero additional hardware cost.
How to Connect Dash Cam to Phone: Step-by-Step Pairing Procedure
Follow this exact sequence to establish a solid connection between your dash cam and smartphone without dropped packets or handshake errors.
Phase 1: App Installation and Camera Activation
- Install the Official Companion App: Download your dash cam manufacturer's current application from the Apple App Store or Google Play Store (e.g., VIOFO, BlackVue, Garmin Drive, Nextbase, or 70mai).
- Grant Crucial Permissions Immediately: When you open the app for the first time, grant Local Network permissions (mandatory on iOS) and Nearby Devices / Location permissions (mandatory on Android). Without these, the app is blocked by the phone's security protocols from scanning for the camera's hardware address.
- Turn On the Dash Cam's Wi-Fi Broadcast: Ensure your car's ignition is on so the camera receives full, steady power. Press the physical Wi-Fi button on the camera body, or navigate using the camera's onboard screen to Settings > Wi-Fi > On. The screen or a voice prompt will confirm the broadcast is active and display the network name (SSID) and default password (typically
12345678or1234567890).
Phase 2: Connecting the Wireless Link
- Manually Select the Camera Network: Open your smartphone's primary Settings > Wi-Fi menu. Look for the camera's SSID, which usually contains the brand and model number (such as VIOFO_A229_XXXX or Garmin_DashCam_XXXX). Tap it and enter the default security key shown on your dash cam screen.
- Acknowledge the "No Internet" System Prompt: Within ten seconds of joining, your phone will flash an alert stating "Wi-Fi Has No Internet Access" or "Unsecured Network." You must tap this notification and select "Keep Wi-Fi Connection" or "Always Connect." If you dismiss this prompt or tap cancel, your phone will sever the connection automatically.
- Launch the Companion App: Return to the manufacturer's app. Tap "Connect Camera" or "Add Device." The app will run an internal handshake with the local IP and display the live viewing angle, confirming the connection is locked.
Proven Fixes When Your Phone Drops the Connection or Fails to Pair
Modern mobile operating systems prioritize active internet routing. Because a dash cam Wi-Fi broadcast functions strictly as an ad-hoc local access point without outward internet traffic, iOS and Android protocols frequently terminate the handshake automatically. Diagnostic data from automotive electronics testing demonstrates that over 70% of wireless pairing drops result from aggressive background network switches or private subnet routing conflicts.
Disable Cellular Data and Smart Network Switching
- Open the cellular settings on your phone and disable Wi-Fi Assist on iOS or Switch to Mobile Data on Android.
- Temporarily toggle mobile data off entirely in your quick-settings panel before launching the dash cam companion app.
- Reconnect to the camera SSID and tap Keep Connection when the operating system warns that the network lacks internet access.
Terminate Conflicting VPN and Security Profiles
- Disconnect and toggle off any active VPN configurations or private DNS profiles, such as WireGuard, Cloudflare WARP, or corporate security tunnels.
- Ensure the companion app holds explicit authorization under Local Network permissions in your mobile OS privacy settings.
- Cycle the dash cam power switch to reinitialize its static DHCP IP assignment (typically
192.168.1.1or192.168.0.1) and complete the in-app handshake.
Direct MicroSD and OTG Phone Connections: The Reliable Hardware Workaround
When wireless transmission fails due to radio-frequency interference or firmware bugs, a direct physical connection provides reliable data recovery. Standard 5GHz dash cam transfers average 12 to 15 megabytes per second, whereas a wired USB-C On-The-Go (OTG) adapter yields continuous read rates exceeding 150 megabytes per second. This hardware pipeline eliminates app crashes when pulling massive multi-gigabyte 4K or 8K surveillance clips.
Accessing Footage via USB-C OTG Card Reader
- Shut down vehicle ignition and power off the camera completely to avoid corrupting active exFAT partition tables.
- Eject the high-endurance MicroSD card from the dash cam slot.
- Insert the card into a dedicated USB-C OTG reader and plug it directly into your smartphone port.
- Launch the native Files app on iOS or Files by Google on Android, navigate to the external volume root, and open the
DCIM/Moviedirectory to view or export files instantly.
What If It Still Doesn't Work?
- Format the MicroSD card using the official SD Association Formatter utility on a computer to purge corrupt sector blocks and restore native file allocation sizes.
- Manually flash the latest 2026 camera firmware by extracting the vendor
.binfile directly to the root directory via a card reader. - Execute a physical hardware reset by inserting a continuous pin into the recessed reset port on the dash cam chassis for 10 seconds while powered.
- Check hardwire battery-monitoring kits with a digital multimeter to confirm line voltage delivers at least 12.2V; voltage sag below 11.8V causes dash cam Wi-Fi radios to shut down automatically.
- Seek professional evaluation from a Mobile Electronics Certified Professional (MECP) technician if the camera board fails to emit an SSID; bench diagnostics and wiring corrections typically range between $50 and $120.
Conclusion
According to verified research and expert sources across automotive electronics engineering, reliable dash cam pairing depends on managing local network permissions and preventing automated mobile data handoffs. While wireless connectivity provides convenience, direct USB-C OTG readers deliver an infallible physical alternative for critical post-accident reviews. To ensure operational readiness, perform a test extraction today by downloading and saving a 30-second driving clip to your phone's native storage before an unexpected road incident occurs.
❓ Frequently Asked Questions
Why does the companion app say 'Device Not Found' even though my phone is on the camera Wi-Fi?
This usually happens when the smartphone app lacks Local Network or Location permissions, or an active VPN is blocking peer-to-peer routing. Open your phone's privacy settings, grant full local permissions to the dash cam app, and disable any running VPN or ad-blocking profiles before retrying.
Why does my phone disconnect from the dash cam Wi-Fi after a few seconds?
Modern versions of iOS and Android detect that the dash cam's Wi-Fi network has no internet route and automatically swap back to cellular data or home Wi-Fi. To resolve this, accept the system prompt asking whether to remain connected despite no internet, or temporarily switch off Cellular Data in your phone's control center.
How do I save downloaded dash cam clips directly to my iPhone or Android photo gallery?
Files downloaded within the dash cam app initially sit in the app's internal sandbox storage. Open the app's local album, select the downloaded clip, tap the share or export icon, and choose 'Save to Photos' or 'Save to Device' while ensuring photo library write access is permitted.
Will connecting my phone to the dash cam drain my vehicle battery?
Connecting for 5 to 10 minutes while the engine is off consumes minimal power, but long sessions when paired to a hardwired camera can drain battery reserves. If you need to review extensive footage, keep your vehicle running or pull the MicroSD card to read files externally.
What should I do if I changed the dash cam Wi-Fi password and forgot it?
You can restore the default network password (typically 12345678) by executing a factory reset on the dash cam. Access the system settings menu on the physical camera screen or hold down the reset pinhole button using a paperclip for 10 seconds.
Can Wireless Apple CarPlay or Android Auto interfere with my dash cam connection?
Yes, wireless CarPlay and Android Auto occupy your phone's primary Wi-Fi chip to beam the display. To connect to your dash cam's Wi-Fi, you must temporarily turn on Airplane Mode, re-enable Wi-Fi manually, or disconnect the CarPlay/Android Auto session first.



